
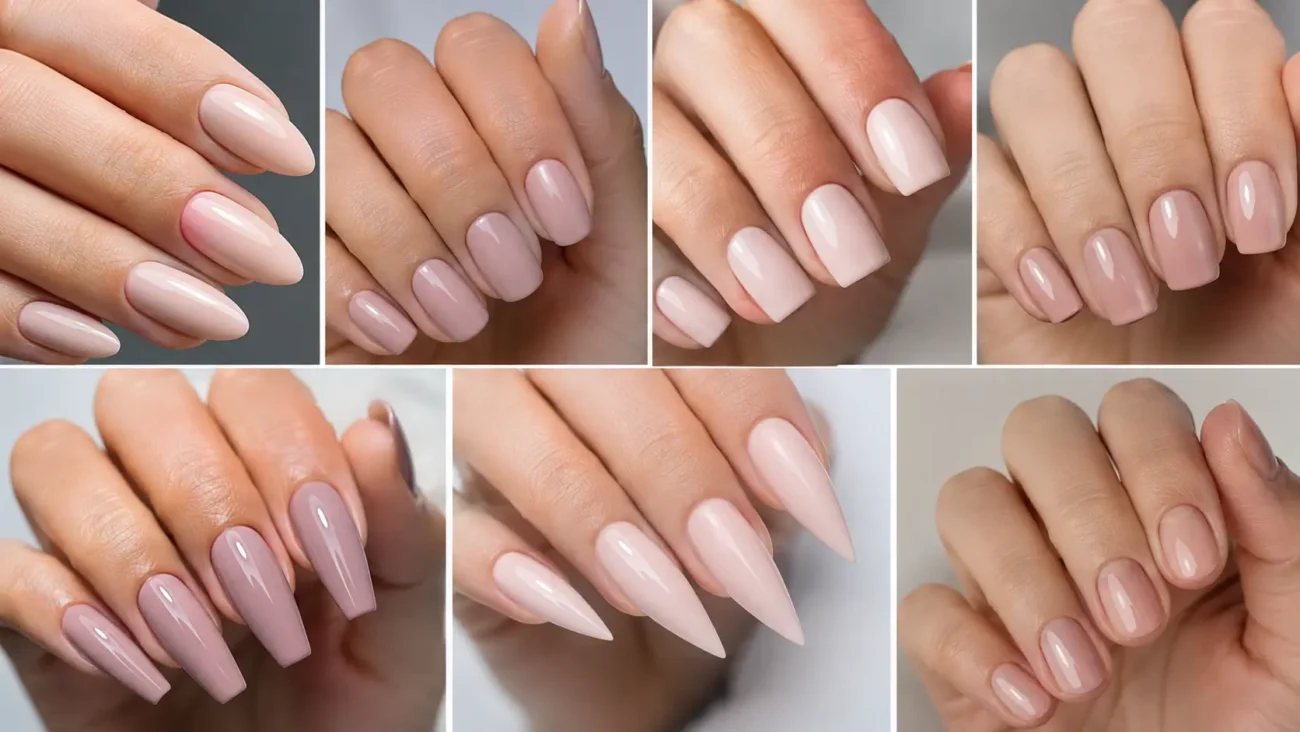
Nail shapes influence the entire personality of a manicure before color, shine, or artwork is added. A straight edge can feel confident, a softened curve can appear natural, and a sculpted point can make the fingers look more dramatic. The best choice should work with the width of the nail bed, the natural free edge, nail strength, and daily activities.
The six directions below explore contour round, elongated squoval, modern tapered square, Russian almond, Gothic almond, and squareletto silhouettes. Each one offers three fresh ways to refine the proportion and make the final manicure feel personal.
Contour Round Nails With a Fingertip Following Curve
Contour round nails follow the natural arc of the fingertip instead of creating a separate dramatic silhouette. The side walls remain close to the original nail width, while the free edge forms a smooth half circle.
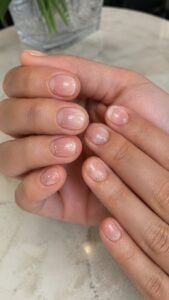
This shape is useful for compact lengths because it looks neat without requiring much growth. It works beautifully with solid polish, transparent color, and simple details that respect the small surface.
Match the Curve to Each Fingertip
Rather than filing every nail against one identical template, shape each free edge to echo the fingertip beneath it. The index finger may need a slightly flatter curve, while smaller fingers may suit a tighter arc.
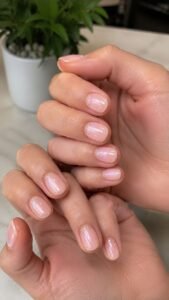
This adjustment helps all ten nails look balanced when the hands rest naturally. Check the outline from the palm side so no edge leans toward one corner.
Keep the Side Walls Calm and Natural
File the sides only enough to remove roughness and create symmetry. Bringing them inward too sharply can weaken the compact silhouette and make the nail appear pointed.
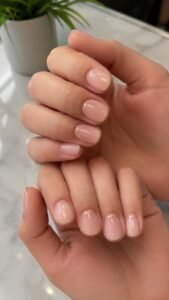
A gentle transition from side wall to rounded tip gives the shape its easy character. This proportion suits anyone who prefers practical nails that still look carefully maintained.
Use a Polished Inkberry Cream
A rich inkberry shade can give short round nails more presence without changing their natural proportion. Choose a cream that combines blackberry, navy, and a touch of charcoal, then apply thin even coats.
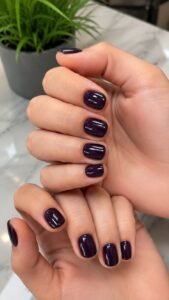
The deep color emphasizes the circular edge, while clear shine keeps the compact manicure looking fresh rather than heavy.
Elongated Squoval Nails With a Soft Flattened Finish
Elongated squoval nails combine nearly straight sides with a gently flattened top and smoothly rounded corners. Unlike a compact squoval, this version carries enough length to look elegant while remaining less pointed than almond.
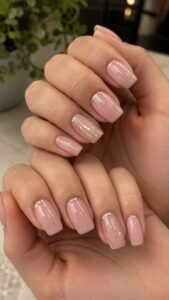
The silhouette works well for medium natural nails or subtle enhancements because it gives polish and artwork a broad, balanced surface.
Preserve a Broad Central Edge
Keep the middle section of the free edge visibly straight before allowing it to curve toward the corners. If the straight area becomes too short, the nail will read as oval. If it extends too far, the shape becomes square.
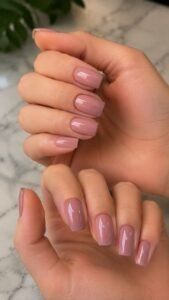
A balanced central edge gives the manicure its softened rectangle and makes each nail appear evenly proportioned.
Round the Corners With Equal Pressure
File each corner using the same number of controlled movements, checking the shape after every pass. One corner that curves more deeply can make the nail look twisted even when the length is correct.
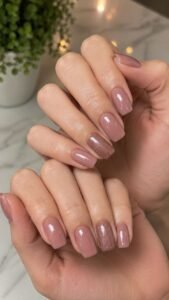
The finished edges should feel smooth against fabric while remaining visible from the front.
Choose a Glazed Juniper Tone
Juniper polish mixes muted green with blue gray depth, creating a calm color that suits the longer squoval surface. A luminous cream finish brings out the broad center without relying on glitter or metallic effects.
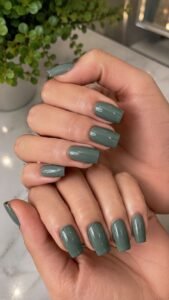
Pair the shade with cream clothing, charcoal tailoring, denim, or silver jewelry.
Modern Tapered Square Nails With Controlled Narrowing
Modern tapered square nails keep the confidence of a flat tip while narrowing only slightly beyond the fingertip. They are less dramatic than coffin nails because the change in width remains subtle and the free edge stays relatively broad.
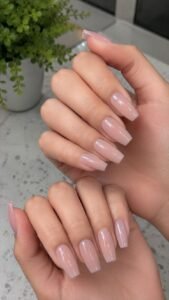
Short and medium lengths feel wearable, giving the hands a clean silhouette that looks polished with one color or restrained placement.
Begin the Taper Late
Maintain the natural width through most of the nail, then introduce a gentle inward angle only near the final section. Starting too close to the cuticle can create a pronounced coffin effect and remove the simplicity of the shape.
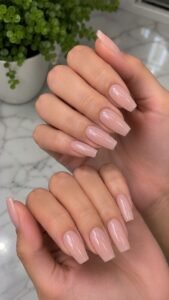
A late taper preserves strength, keeps the nail balanced, and makes the flat edge look deliberate.
File a Level Tip From Several Angles
Create the straight edge while viewing the nail from above, from the side, and from the palm. The tip should remain level instead of rising toward one corner.
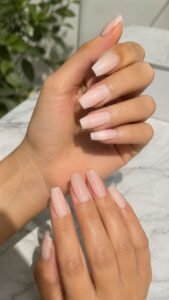
Checking multiple angles also reveals uneven thickness that may be hidden from the top. A smooth level finish gives simple polish a tailored appearance.
Wear a Dense Silt Blue Finish
Silt blue combines deep blue, soft gray, and a small amount of earthy warmth. The shade feels stronger than a pastel but quieter than navy, making it ideal for a structured square silhouette.
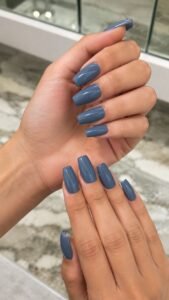
An opaque finish highlights the controlled taper and broad edge. Keep the surface smooth so the color and precision receive equal attention.
Russian Almond Nails With a Sculpted High Profile
Russian almond nails create a more architectural version of the familiar almond silhouette. Straight lower side walls lead into a sharply controlled taper, while a pronounced upper structure gives the nail a sculpted profile.
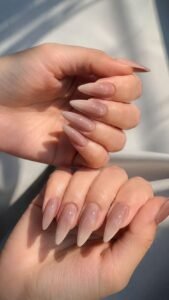
This artistic shape usually needs professional enhancement and careful balance. It suits longer lengths where the side walls and narrow tip can develop without appearing compressed.
Build From a Straight Square Foundation
The structure begins with straighter side walls than a soft almond shape, creating a stable foundation before the free edge narrows. This geometry helps the taper remain clean and prevents the finished nail from looking uneven.
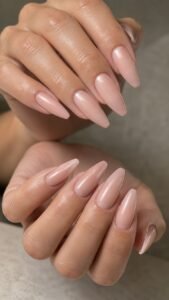
The technician should check alignment from the front and side throughout the service because small shifts become noticeable.
Form a Narrow Point Without a Needle Tip
The free edge should taper into a defined narrow finish while retaining a minute amount of softness at the end. A needlelike point can make the shape resemble a stiletto and change its architecture.
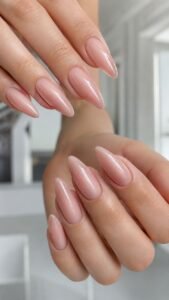
The controlled tip should appear sharp from above but balanced with the structured upper profile from the side.
Add a Velvet Umber Surface
Velvet umber blends dark brown, muted purple, and a trace of smoke in a rich single color. A softly luminous finish reveals the sculpted planes without needing lines or embellishments.
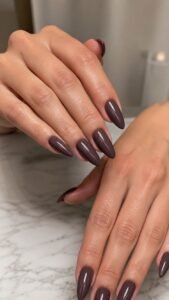
The shade works beautifully with cream, black, burgundy, and olive clothing. Its depth supports the dramatic structure while keeping the manicure refined.
Gothic Almond Nails With a Defined Central Direction
Gothic almond nails create a slender dramatic silhouette through straighter side walls and a more decisive point than a classic almond. The structure feels elongated and directional without becoming as narrow as a stiletto.
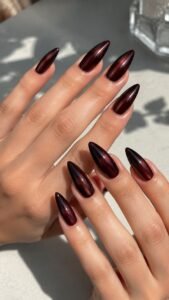
It works best at medium or long lengths where the side lines have enough space to move inward gradually.
Keep the Lower Sides Visibly Straight
Maintain straight side walls through the lower part of the nail before beginning the taper. This creates a strong architectural base and distinguishes Gothic almond from softer variations.
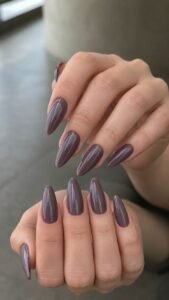
Both sides should remain parallel for the same distance so the point sits directly over the center. Careful symmetry keeps the silhouette elegant.
Draw the Taper Into a Centered Peak
Begin narrowing after the strongest part of the nail, guiding both sides toward one centered peak. Check the tip by looking straight down the finger rather than only from above the hand.
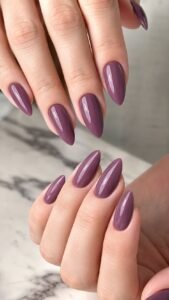
The point should continue the natural direction of the finger. A slight softening can improve comfort without changing the profile.
Select a Moonstone Gray Cream
Moonstone gray combines cool gray, pale violet, and a quiet pearly brightness without becoming metallic. The lighter tone makes the straight lower sides and defined peak clearly visible.
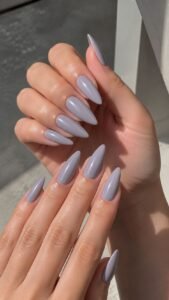
Apply it in smooth opaque layers and finish with glasslike shine. The color provides an unexpected contrast and pairs easily with dark outfits or silver accessories.
Squareletto Nails With a Flat Statement Tip
Squareletto nails combine the long narrowing direction of a stiletto with a small flat tip instead of a pointed end. The shape feels fashion focused because most of the extension tapers dramatically before stopping at a compact straight edge.
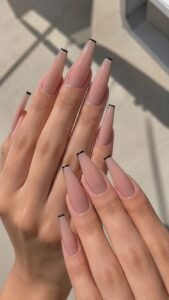
It requires enough length for the transition to look intentional and is usually created with a strong enhancement system.
Narrow the Sides in One Continuous Motion
Guide each side toward the center using a long clean angle rather than creating several visible changes in direction. The taper should look smooth from the widest area to the final tip.
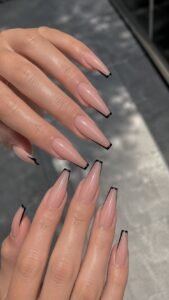
Uneven side lines can make the small edge appear off center, so both sides need repeated comparison during shaping.
Keep the Final Edge Petite and Precise
File a short straight tip that remains wide enough to be visible but much narrower than the nail bed. If the edge becomes too broad, the shape moves toward coffin.
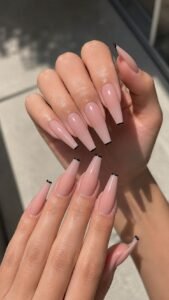
If it nearly disappears, the silhouette resembles stiletto. The petite edge should sit level and centered across every finger.
Finish With a Lacquered Tamarind Shade
Tamarind polish combines deep reddish brown with subtle plum and caramel undertones. The glossy color follows the dramatic taper beautifully and brings warmth to the small straight edge.
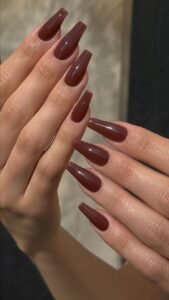
It works with gold, bronze, black, cream, and denim styling. A solid manicure lets the uncommon silhouette create the statement without additional art.
Find the Nail Shape That Fits More Than One Moment
The best nail shapes support the way the hands move while giving every color and design a stronger foundation. Contour round nails offer compact natural balance, while elongated squoval nails create a softer structured surface. Modern tapered squares bring subtle confidence, Russian almond nails add sculpted architecture, and Gothic almond nails introduce dramatic direction. Squareletto nails complete the collection with a narrow silhouette and petite flat edge. Save the shape that suits your preferred length and routine, then discuss structure, strength, and maintenance with a trained nail professional. Related inspiration for nail colors, extensions, stickers, manicure care, and outfit styling can help you plan a complete look around your final choice.