
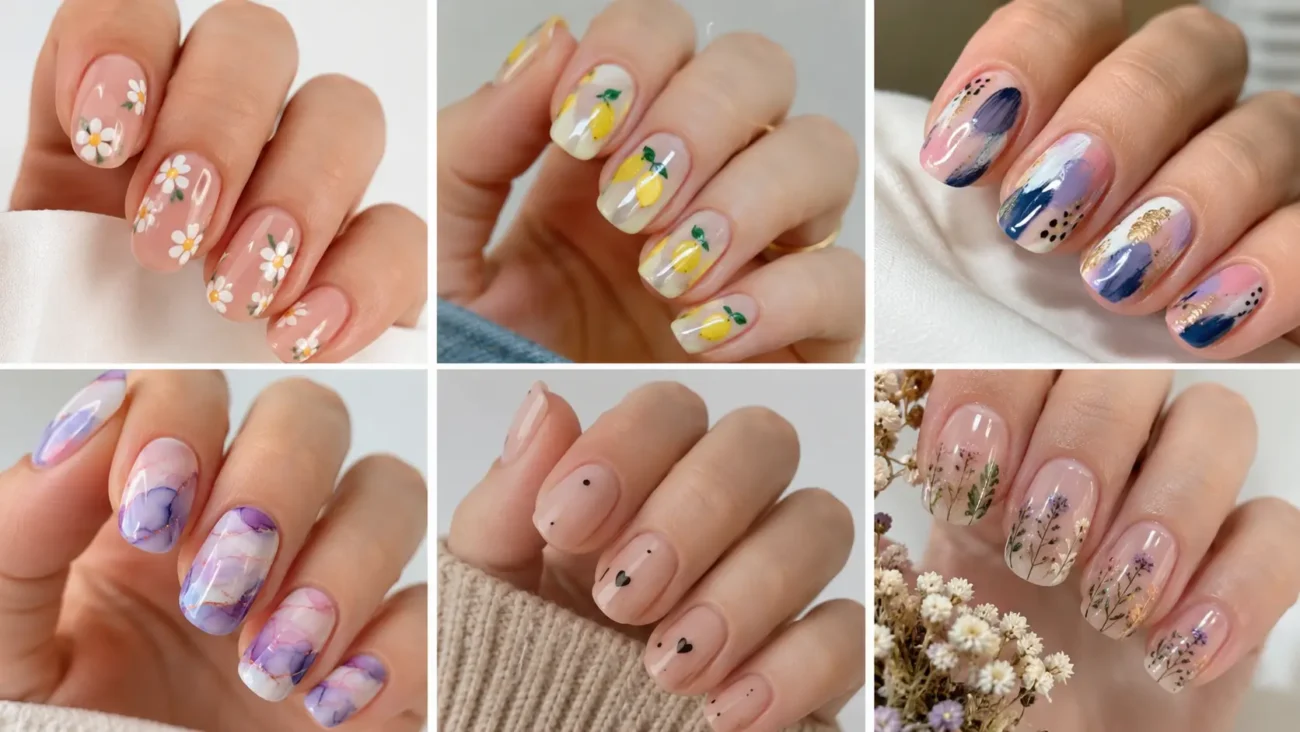
Nail painting ideas feel more original when the manicure follows one visual story instead of placing unrelated decorations on every finger. This collection draws inspiration from the working surfaces, tools, and techniques found inside an artist studio. Paint roller trays, fresco repairs, screen printing marks, brush washing jars, pigment mortars, and easel hardware create six completely different directions. Each theme includes three variations that can be adapted for short square, rounded, oval, almond, coffin, or medium length nails. Keep the palette controlled and preserve quiet areas so every detail remains clear, stylish, and easy to coordinate with changing outfits, jewelry, and everyday beauty choices. These concepts can also be simplified for natural nails or expanded across longer gel and acrylic shapes.
Paint Roller Tray Nails With Fresh Coating Movement
Paint roller tray nails use sloped wells, ribbed loading sections, wet color bands, and compact handles to create an energetic manicure. Powder blue, tomato red, cream, moss, and charcoal keep the workshop inspiration bright and polished. Flat sections suit short nails, while longer shapes allow extended color paths. Different tray components can be distributed across the hands so the theme remains recognizable without placing one complete tool on every finger.
Pull Tomato Paint Up a Ribbed Ramp
Apply a cream base and paint one tomato red section beginning near the cuticle. Extend it upward through four broad charcoal ridges, allowing less red to remain visible after each line. The changing coverage makes the color look freshly rolled across a loading ramp. Keep the upper tip mostly cream so the movement remains easy to read without turning into a striped pattern.
Pool Powder Blue Inside a Sloped Well
Use a soft charcoal foundation and place one broad powder blue pool near the lower side. Shape the upper edge with a shallow angle and add a narrow cream reflection along one corner. A small moss block can sit beside the blue as a painted handle connection. The off center placement creates depth while leaving enough dark base around the color.
Crop a Moss Roller Across the Flat Tip
Paint the nail warm beige and add one moss roller head across the tip, allowing both ends to disappear beyond the sidewalls. Divide the surface with two darker green bands and extend a slim charcoal handle diagonally toward the center. One tomato red joint gives the tool a bright detail without adding another full object.
Fresco Restoration Nails With Carefully Repaired Color
Fresco restoration nails combine worn painted areas, newly filled patches, fine guide marks, and softened historical colors. Clay, mineral blue, chalk white, faded rose, and olive create a muted art wall palette. Repaired sections beside softer areas show the contrast between old and renewed color. Keep the finish smooth and use clear boundaries so the manicure feels carefully preserved rather than rough or unfinished.
Replace a Missing Clay Corner With Blue
Cover the nail in faded rose and create one irregular clay field near the side. Remove a small visual corner from the clay and fill that opening with mineral blue, leaving a thin chalk white gap around it. The clean replacement should look newer than the surrounding color. Keep the rest of the nail simple so the repaired section becomes the focus.
Trace Fine Survey Marks Over Olive
Apply muted olive polish and add three short chalk white guide marks around one pale clay patch. Use one right angle, one small circle, and one slim line without forming readable symbols. A faded rose edge can appear beneath the patch. The measured marks suggest careful restoration while the limited arrangement prevents the manicure from looking technical or crowded.
Reveal an Earlier Color Beneath the Surface
Paint the nail mineral blue and place one soft cream section across the lower half. Inside it, add a smaller faded rose shape with uneven edges, suggesting an older painted layer revealed during conservation. Frame only one side with a clay line. The nested colors create history and depth without using glitter, texture, or transparent polish.
Screenprint Registration Nails With Offset Color Precision
Screenprint registration nails use layered shapes, alignment crosses, exposed ink edges, and intentionally shifted color fields. Cobalt, raspberry, butter yellow, black, and ivory produce strong contrast while keeping the artwork flat and clean. Slight shifts create movement, while open base areas keep the layers balanced. Change the direction and scale of every printed component so the manicure feels coordinated rather than mechanically duplicated.
Offset Raspberry Behind a Cobalt Shape
Begin with an ivory foundation and paint one cobalt shape resembling a broad curved block near the center. Add the same shape in raspberry, shifted slightly downward and toward the side so both layers remain visible. Place one tiny black registration cross near the cuticle. The offset creates instant energy without relying on outlines or blended color.
Build a Butter Yellow Ink Pull at the Tip
Use a soft black base and place one butter yellow field across the tip with an uneven lower edge. Add a narrow cobalt strip beneath part of it and a raspberry square close to one corner. Leave black gaps between every color. The separate ink layers make the flat tip feel graphic while preserving the depth of the dark foundation.
Place Registration Marks Around Open Space
Paint the nail pale gray and arrange four small black corner marks around an empty central area. Add one cobalt circle outside the upper mark and one raspberry block beside the lower mark. Keep the center completely untouched. The alignment details become the artwork and suit compact square nails.
Brush Washer Jar Nails With Swirling Studio Color
Brush washer jar nails translate stained water, resting brush handles, painted rims, and settling pigment into an artistic manicure. Teal, plum, ochre, coral, and smoky cream create a rich studio palette. Rounded jar shapes soften square nails, while almond nails support longer brush handles. Keep the color sections clearly separated so the artwork suggests pigment moving through water without repeating familiar gradients or liquid effects.
Settle Plum Pigment Beneath Teal
Paint the nail smoky cream and create one teal jar section across the lower half. Add a plum band along the bottom with an uneven upper edge, then place two small coral fragments between the colors. The pigment should look settled rather than blended. A narrow cream rim above the teal gives the jar a clean boundary.
Rest Two Ochre Brushes Against the Rim
Use a deep plum base and paint one curved cream jar rim near the cuticle. Extend two ochre brush handles upward at different angles, allowing one to leave through the tip and the other through the side. Add a teal ferrule to the shorter brush. The crossed directions introduce movement while the dark background keeps every component clear.
Mark a Coral Waterline Through Cream
Apply a teal base and place one broad smoky cream jar shape through the center. Draw a coral waterline across the lower third, then add three small plum pigment marks beneath it. Keep the upper cream section empty. The division creates a clear studio detail on rounded or coffin nails.
Pigment Mortar Nails With Ground Color Texture
Pigment mortar nails take inspiration from powdered color, stone bowls, pestles, and mixing surfaces. Ochre, ultramarine, brick, chalk, and granite gray create an earthy but vivid palette. Painted shadows can give the tools dimension. Each finger can show a different stage of mixing, allowing dry powder, concentrated color, and smoother prepared pigment to appear within one connected manicure.
Gather Ultramarine Powder Inside Granite
Cover the nail in chalk white and paint one granite gray bowl near the center. Fill the lower portion with ultramarine using an uneven mounded edge, then add three tiny blue grains outside the rim. A narrow charcoal shadow beneath the bowl provides weight. The concentrated blue becomes vivid against the quiet base.
Grind Brick Color With a Pale Pestle
Use an ochre foundation and create one brick red pigment patch near the lower side. Lay a pale stone pestle diagonally across it, widening the upper end and narrowing the handle toward the tip. Add a darker red mark where the tool meets the pigment. The crossing shape creates action while keeping the surface smooth.
Divide Dry and Mixed Pigment at the Tip
Paint the lower nail granite gray and create two adjacent color sections across the tip. Use powdery chalk on one side and creamy ultramarine on the other, separated by a curved ochre boundary. Add one brick red grain close to the divide. The contrasting consistencies are suggested through shape and color rather than physical texture.
Easel Hinge Nails With Adjustable Studio Structure
Easel hinge nails use folding supports, brass joints, canvas ledges, and locking knobs to create tailored mechanical art. Walnut, brass, canvas cream, forest green, and burgundy form a warm studio palette. Straight components complement square and coffin nails, while diagonal supports bring movement to oval and almond shapes. Keep the hardware broad so every element remains clear.
Open a Walnut Support Across Canvas Cream
Apply canvas cream polish and paint one walnut support beginning near the cuticle. Angle it toward the outer tip, then connect a shorter forest green brace with one round brass hinge. Add a slim burgundy shadow beneath the crossing point. The open triangular space between the pieces makes the construction feel adjustable instead of decorative.
Center a Brass Locking Knob on Green
Use forest green as the base and place one broad brass circle slightly below the center. Add a small walnut bar passing behind it and a cream tightening mark inside the circle. Keep the upper and lower nail mostly green. The oversized hardware creates a strong focal point on short nails.
Build a Canvas Ledge Along the Tip
Paint the nail burgundy and create one narrow walnut ledge directly above the tip. Add two brass brackets beneath it and place a canvas cream panel resting on the upper edge. Let the panel stop before both sides so the burgundy border remains visible. This compact arrangement highlights the flat nail edge.
Turn Nail Painting Into a Style That Feels Personal
The most memorable nail painting ideas begin with a subject that can change across the hands without losing its identity. Paint roller trays bring fresh color movement, while fresco restoration creates layered history. Screenprint registration adds bold precision, and brush washer jars introduce studio rhythm. Pigment mortars celebrate raw color, while easel hinges finish the collection with adjustable structure. Choose the theme that matches your nail shape and routine, then adjust the supporting shades without changing its construction. You can also explore related articles about short nail designs, acrylic shapes, manicure colors, nail care, outfit styling, jewelry combinations, salon inspiration, hand care, and seasonal beauty ideas.