
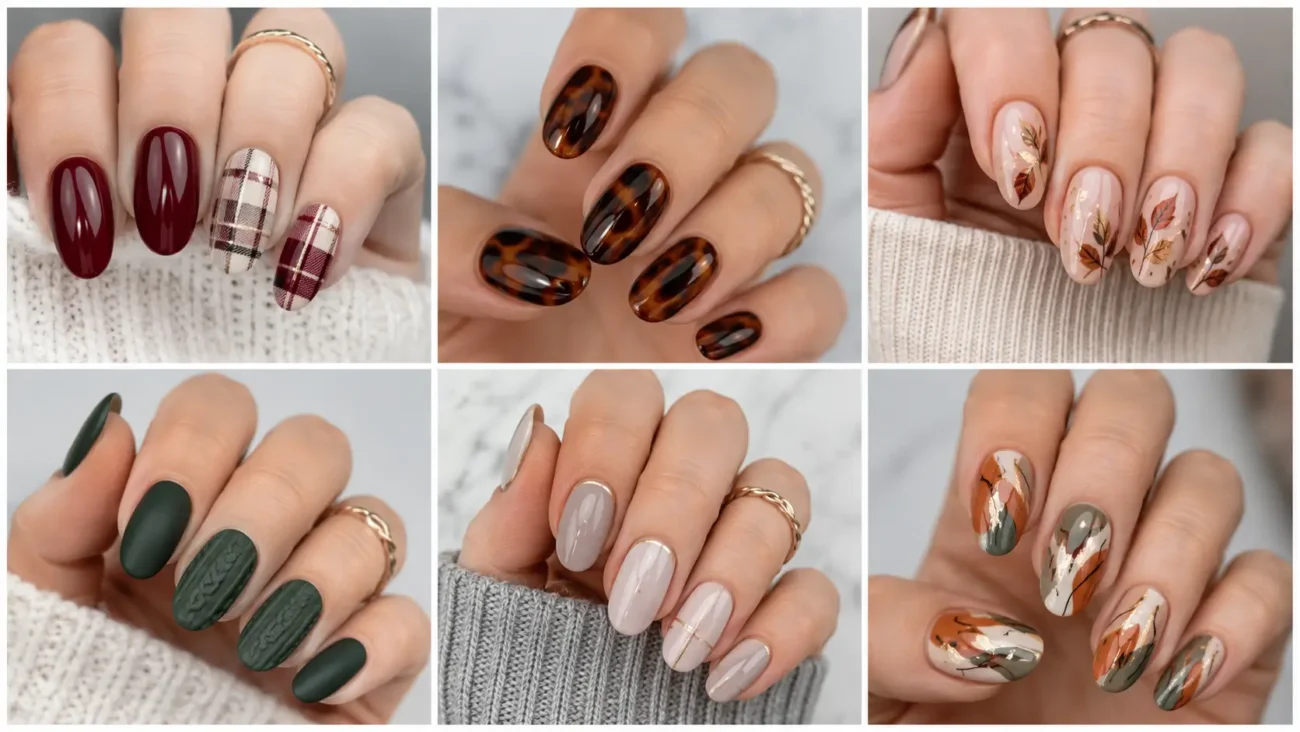
Fall nail designs can feel seasonal without repeating leaves, pumpkins, plaid, maple seeds, acorns, mushrooms, corn husks, or familiar sweater patterns. A more original manicure can study the objects that quietly appear when temperatures drop and home routines begin to change. The six themes below explore chestnut burrs, wood stove doors, leather boot soles, preserve jar closures, cinnamon bark, and candle snuffers. Rich espresso, amber, olive, sugar plum, dark teal, tomato red, and warm cream give each concept an autumn mood while remaining easy to style with denim, coats, boots, knit dresses, and simple jewelry. Every theme includes three different interpretations for short square, rounded, oval, almond, coffin, or medium length nails, allowing the artwork to move across both hands without repeating one complete image.
Chestnut Burr Nails With Sharp Natural Structure
Chestnut burr nails use pointed shells, split openings, and smooth inner forms to create woodland texture without repeating acorn caps, pinecones, or ordinary botanical art. Olive, moss, chestnut brown, cream, and burnt orange form a grounded palette that feels natural but still graphic. The pointed sections can remain flat for a practical manicure or become very low sculpted details on acrylic nails. Short shapes suit one enlarged shell fragment, while longer nails provide room for a partially opened burr with its smooth center visible.
Open an Olive Burr Around Chestnut
Paint the nail warm cream and create one chestnut oval slightly below the center. Surround its upper half with an olive shell made from broad pointed sections, leaving small cream spaces between them. Add deeper moss shadows near the base of selected points so the shell appears layered rather than flat. Keep the lower part of the chestnut smooth and glossy, allowing the contrast between the sharp outer structure and polished center to become the main feature.
Crop Burnt Orange Spines Into the Tip
Use a deep espresso base and arrange five burnt orange points entering from the flat tip. Change their width, direction, and length so they resemble a cropped chestnut burr rather than a row of triangles. Add two small olive sections behind the orange points and leave most of the espresso surface untouched. This close viewpoint gives square and coffin nails a strong seasonal finish while keeping the artwork controlled.
Split a Moss Shell Along One Side
Apply muted amber polish and paint one moss green shell section along the outer sidewall. Open it through the middle with a narrow cream gap, then place part of a chestnut oval inside the lower opening. Add three dark brown points extending beyond the shell edge. The side placement lengthens rounded nails and introduces natural movement without filling the complete surface with repeated spikes.
Wood Stove Door Nails With Dark Enamel Hardware
Wood stove door nails capture the heavy frames, circular air controls, viewing panels, and sturdy hinges associated with colder evenings. Glossy black, charcoal, brick red, aged brass, and ash gray create a dramatic autumn palette without painting flames, smoke, fireplaces, or chimney pots. The dark surfaces work beautifully on short nails, while larger acrylic shapes can carry more detailed hardware. Mixing satin and gloss helps separate the enamel sections while keeping every component smooth and practical.
Frame an Ash Gray Viewing Panel
Cover the nail in glossy black and place one ash gray rectangle through the center, giving its upper corners a soft curve. Surround it with a broad charcoal frame and add two small aged brass hinge points along one side. Leave the gray center blank rather than painting fire inside it. The quiet panel feels architectural and polished, while the surrounding black keeps the manicure easy to coordinate with autumn clothing.
Turn a Brick Red Air Wheel
Paint the nail matte charcoal and create one brick red circular control near the lower third. Add four broad openings around a small black center, then place a narrow aged brass pointer above the wheel. Shift the pointer slightly toward one side so the control appears adjusted rather than perfectly centered. Keeping the upper tip plain gives the compact mechanical detail enough room to remain readable.
Build a Heavy Hinge Across the Tip
Use an ash gray base and paint one thick black hinge plate across the tip, allowing both ends to disappear beyond the nail edges. Add three brick red fastening points and one narrow charcoal shadow beneath the lower edge. A small brass joint near the side introduces a warmer highlight. The cropped hardware emphasizes square and coffin tips without resembling an ordinary dark border.
Leather Boot Sole Nails With Welted Autumn Detail
Leather boot sole nails explore tread blocks, stitched welts, stacked heels, and curved edges instead of painting complete shoes. Espresso, tobacco, oxblood, caramel, and cream create a rich palette that suits both casual and dressier fall styling. The structured details work especially well on short nails because the artwork can appear as an enlarged close view. Use flat painted sections or shallow grooves so the design remains comfortable while still suggesting sturdy seasonal footwear.
Stitch a Cream Welt Around Oxblood
Apply an oxblood base and paint one broad tobacco edge around the lower half of the nail. Add short cream stitch marks along the inner boundary, changing their spacing slightly so the line feels handmade rather than mechanically perfect. Place a slim espresso shadow beneath the tobacco section. The curved welt frames the cuticle while leaving the upper nail open and glossy.
Stack a Caramel Heel at the Tip
Paint the nail deep espresso and create three caramel blocks across one corner of the tip. Make the lowest block widest and add a narrow oxblood layer between the upper two sections. A cream highlight along one outer edge gives the stacked heel clearer definition. Cropping most of the boot beyond the frame turns the practical object into a bold geometric design.
Press Tobacco Tread Through the Center
Use a warm cream foundation and arrange four tobacco tread shapes through the middle. Combine one wide rectangle, two angled blocks, and one rounded piece instead of repeating the same form. Add small espresso gaps between them and one oxblood marker near the cuticle. The irregular pattern feels rugged without becoming a checkerboard, while the pale base keeps every element visible.
Preserve Jar Closure Nails With Wire Bail Geometry
Preserve jar closure nails focus on wire bails, ceramic caps, rubber seals, and fastening levers rather than fruit, labels, or painted food. Dark teal, tomato red, cream, brushed gray, and amber create a fresh fall palette connected to seasonal preserving without repeating jars used in previous studio themes. Slim curved hardware suits almond nails, while short shapes can carry one cropped clasp or cap edge. Keep the details flat and simplified so the result remains fashionable rather than overly literal.
Lock a Gray Bail Around Cream
Paint the nail dark teal and create one cream cap near the cuticle, shaping it as a broad oval section. Add a brushed gray wire bail that curves around both sides and meets near the center. Place one small tomato red seal beneath the cap. The complete closure occupies only the lower half, leaving the teal tip clean and giving the hardware a strong visual frame.
Fold an Amber Lever Along the Side
Use a warm cream base and paint one amber fastening lever along the outer side. Widen the lower end, narrow the center, and finish with a rounded tomato red joint near the upper corner. Add two short gray wire sections connecting the lever to an unseen lid beyond the edge. The vertical placement lengthens short rounded nails while preserving open space.
Crop a Tomato Seal Across the Tip
Apply deep teal polish and paint one wide cream cap edge across the tip. Add a narrow tomato red seal underneath and two brushed gray wire loops entering from opposite corners. Keep the loops separated at the center so the closure appears partly released. The layered edge gives structured shapes a distinctive finish without relying on glitter, metallic powder, or raised charms.
Cinnamon Bark Nails With Rolled Spice Layers
Cinnamon bark nails use rolled edges, cracked surfaces, bundled sections, and powdered color to bring warm autumn spice into the manicure without ordinary food illustrations. Cinnamon brown, amber, cream, plum, and burnt red create depth while remaining wearable with neutral outfits. The rolled forms can sit vertically along almond nails or appear as enlarged cross sections on short square shapes. Crisp boundaries keep the bark recognizable without repeating wood grain, marble, or watercolor effects.
Roll a Cinnamon Curl Over Amber
Paint the nail soft amber and create one cinnamon brown curl beginning near the cuticle. Shape it as a broad spiral with only two complete turns, leaving a narrow cream opening inside. Add a plum shadow beneath the outer edge so the bark appears rolled above the surface. Keep the tip amber and plain, allowing the compact curl to remain the focal point.
Split Burnt Red Bark Along the Side
Use a creamy beige foundation and place one long burnt red bark section close to the outer sidewall. Break its inner edge with three shallow notches and add a cinnamon underside where the bark appears separated. A small amber fragment near the tip completes the worn structure. The side placement gives oval and almond nails more length without relying on standard vertical lines.
Bundle Three Spice Sticks Near the Tip
Apply deep plum polish and arrange three cinnamon sticks diagonally across the upper half. Change their length and let one pass slightly above the others. Add cream circular openings at the visible ends and a narrow burnt red band around the middle of the bundle. The compact arrangement feels seasonal without resembling ribbons, cords, or ordinary striped art.
Candle Snuffer Nails With Evening Metal Shapes
Candle snuffer nails translate tapered bells, hinged handles, wick tools, and darkened metal into elegant autumn art. The theme suggests quiet evening rituals without painting candles, flames, wax pools, or glowing light. Black cherry, antique brass, charcoal, cream, and dark teal create a sophisticated palette suited to short or longer nails. One complete snuffer can establish the story, while nearby fingers feature only the bell edge, hinge, or handle connection.
Tilt a Brass Bell Over Black Cherry
Paint the nail black cherry and create one antique brass bell entering diagonally from the tip. Widen the outer end and narrow it toward a small charcoal hinge near the center. Add a cream highlight along the upper curve and leave the lower half plain. The tilted shape gives the manicure movement while the deep red background keeps it formal and autumnal.
Extend a Charcoal Handle Across Cream
Use a warm cream base and draw one long charcoal handle from the cuticle side toward the opposite corner. Attach a small dark teal joint and part of a brass bell where the handle leaves the frame. Keep the line broad enough to read clearly and add one black cherry grip section near the lower end. The diagonal placement visually lengthens short nails.
Crop a Darkened Bell Near the Cuticle
Apply dark teal polish and place one charcoal bell close to the cuticle, shaping its lower edge with a wide curve. Add an antique brass interior and one cream hinge point near the side. Show only a short section of the handle before it disappears beyond the nail edge. This close view creates a strong companion design while leaving the upper tip smooth and uncluttered.
Let Fall Nail Designs Reveal a Different Side of the Season
Fall nail designs become more memorable when they explore overlooked seasonal details rather than returning to the same leaves, pumpkins, plaid patterns, and sweater textures. Chestnut burrs add sharp natural structure, while wood stove doors bring dark enamel hardware. Leather boot soles introduce stitched construction, and preserve jar closures create curved mechanical detail. Cinnamon bark offers rolled spice layers, while candle snuffers finish the collection with elegant evening shapes. Choose the theme that suits your nail length and wardrobe, then adjust the supporting colors without changing its central identity. You can also explore related articles about fall nail colors, short manicure ideas, acrylic shapes, nail care, autumn outfits, jewelry styling, salon inspiration, hand care, and seasonal beauty.