
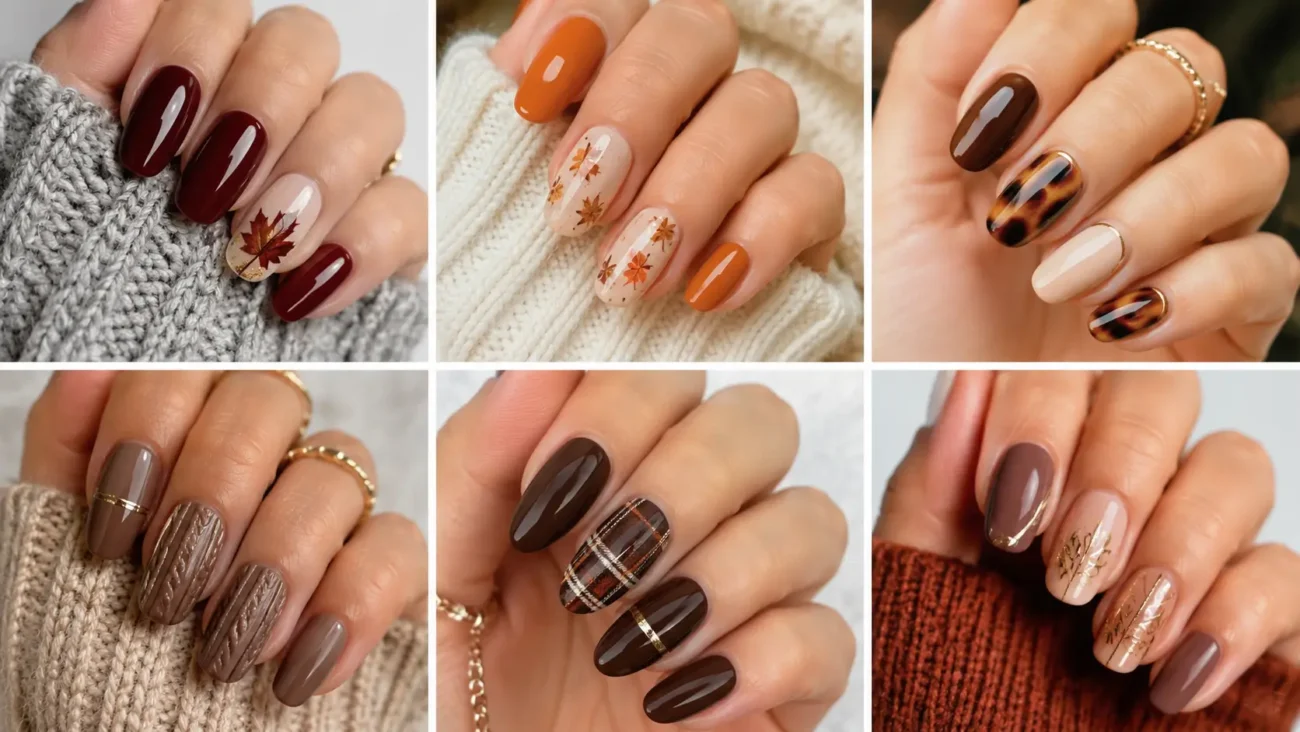
Fall nail art designs can feel seasonal without relying on repeated leaf prints, pumpkin faces, plaid tips, or ordinary brown polish. A stronger manicure begins with one autumn detail and studies its shape, texture, and movement from several angles. The six ideas below explore maple seeds, mushroom gills, acorn caps, corn husks, weathered copper roofs, and forest trail markers. Each theme includes three different interpretations for short square, rounded, oval, almond, coffin, or medium length nails.
Maple Seed Flight Nails With Papery Wing Movement
Maple seed nails use slim bodies and translucent looking wings to capture the spinning motion of samaras without painting full leaves or tree branches. Rust, muted coral, sand, olive, and deep brown create an autumn palette that feels light rather than heavy. Almond nails support long wing shapes, while short nails can show one enlarged seed entering from the side.
Pair Two Rust Seeds Near the Cuticle
Paint the nail soft sand and place two rust seed bodies close to the cuticle, angling them away from each other. Extend one muted coral wing from each body and keep the outer edges slightly uneven. A tiny olive shadow beneath the joining point adds depth. Leave the upper nail open so the paired shape stays delicate and does not resemble a flower or bow.
Sweep One Olive Wing Across the Tip
Use a deep brown base and paint one broad olive wing travelling diagonally across the tip. Add a narrow cream center line and attach a small rust seed near the outer corner. Let part of the wing disappear beyond the edge so the view feels cropped. The open lower section keeps the dark manicure balanced and gives the flat tip a graceful sense of movement.
Scatter Three Samaras Along a Curved Path
Apply muted coral polish and arrange three small maple seeds along one gentle curve from the lower side toward the opposite tip. Make every wing point in a different direction and gradually reduce their size. Add one cream seed between the rust shapes for contrast. The changing scale suggests distance while keeping the artwork clear enough for compact rounded nails.
Mushroom Gill Nails With Fan Shaped Underside Detail
Mushroom gill nails focus on the hidden underside of autumn mushrooms rather than familiar spotted caps. Fine fan shapes, curved stems, and cropped edges create organic structure without using flowers or animal print. Chestnut, cream, plum, clay, and smoky gray keep the palette earthy.
Fan Cream Gills Over Chestnut
Cover the nail in chestnut brown and paint one cream half circle entering from the tip. Draw six broad gill lines opening from a small clay center, widening the spaces as they move outward. Keep the lower half solid brown so the fan remains easy to read. A smoky gray shadow along one side gives the underside gentle depth without raised gel.
Crop a Plum Cap With an Ochre Underside
Use a warm beige base and place one deep plum cap entering from the outer side. Add an ochre underside beneath it and separate both sections with a narrow charcoal curve. Include only three short gill marks near the lower edge. The cropped view feels larger and more editorial than a complete mushroom illustration, especially on short square nails.
Bend a Smoky Stem Around the Side
Paint the nail clay pink and create one smoky gray stem curving upward along the side wall. Widen it near the tip, then add a small cream underside partly beyond the upper edge. A chestnut shadow inside the curve makes the stem look folded rather than flat. The open center keeps this quieter companion design connected to the detailed gill nails.
Acorn Cap Nails With Sculpted Woodland Texture
Acorn cap nails bring compact cup shapes, irregular ridges, and rich woodland color to a practical autumn manicure. The texture can be painted or built very low so it remains comfortable. Walnut, caramel, moss, cream, and oxblood create depth without glitter or metallic decoration.
Press Walnut Ridges Into a Caramel Cap
Apply a cream base and build one caramel cap near the lower half of the nail. Add short walnut ridges in uneven rows, changing their angle as they approach the sides. Place a small oxblood stem at the top and keep the remaining surface plain. The imperfect texture feels natural and gives short nails detail without filling every visible area.
Nest a Chestnut Body Inside Moss
Paint the nail muted moss and place one smooth chestnut oval through the center. Cover the upper third with a walnut cap and add three cream notches along its lower edge. A soft caramel highlight on the body keeps the dark colors separated. The centered acorn shape suits oval and almond nails because it follows their narrowing outline.
Break a Cap Edge Across the Tip
Use an oxblood base and paint one wide caramel cap across the tip, allowing the outer corners to leave the frame. Shape the lower edge with uneven rounded points and add a few walnut marks above them. Leave the lower nail glossy and plain. The close view turns a small woodland object into a strong graphic finish for square or coffin shapes.
Corn Husk Nails With Dry Layered Folds
Corn husk nails use long folded panels, curled tips, and narrow openings to create soft autumn movement. Ochre, straw cream, olive, burnt orange, and cocoa feel seasonal without using plaid, leaves, or knitted textures. The shapes should remain broad enough to read on short nails.
Peel Ochre Folds Around an Ivory Center
Paint the nail olive and create one ivory center panel beginning near the cuticle. Wrap two ochre husk shapes around it from opposite sides, allowing their upper ends to open near the tip. Add cocoa shadows beneath the inner edges. The separated folds create depth while the ivory center keeps the earthy palette from looking too dark.
Curl a Straw Tip Over Burnt Orange
Use burnt orange as the base and paint one straw cream husk entering from the tip. Curl its pointed end back toward the side and add a narrow ochre underside where the fold turns. Leave the lower half untouched. This compact detail follows the tapered outline of almond nails and gives shorter shapes a clear seasonal accent.
Layer Three Husks Along One Side
Apply a soft cocoa foundation and arrange three narrow husk panels along the outer side in olive, straw, and ochre. Shift each layer slightly so every edge remains visible, then add one burnt orange opening near the cuticle. The side placement keeps the center calm and creates length without using straight stripes or repeated geometric blocks.
Weathered Copper Roof Nails With Autumn Patina
Weathered copper roof nails combine standing seams, oxidized patches, and warm metal color without using chrome or mirror powder. Burnished copper, blue green patina, charcoal, cream, and brick create a rich architectural palette. Flat color can suggest aged metal, while satin and gloss separate dry and newly polished areas.
Raise a Copper Seam Over Charcoal
Paint the nail matte charcoal and add one broad burnished copper seam running slightly away from the center. Give it a narrow cream highlight on one edge and a brick shadow on the other. Stop the seam before the cuticle and tip so it looks like part of a larger roof panel. The controlled vertical feature feels refined rather than industrial.
Spread Blue Green Patina From One Corner
Use a copper base and place an irregular blue green patina patch across one lower corner. Add two smaller cream green marks along the outer edge and leave the center copper visible. Keep the boundary crisp instead of blended. The uneven oxidation creates autumn color contrast without resembling marble, watercolor, or a cloudy gradient.
Join Two Roof Panels at the Tip
Apply deep brick polish and paint two copper panels meeting at a narrow charcoal seam across the tip. Make one panel slightly wider and add a small patina mark close to the outer corner. Leave the lower nail solid brick. The fitted construction emphasizes square and coffin tips while keeping the metallic inspiration smooth and wearable.
Forest Trail Marker Nails With Crisp Wayfinding Color
Forest trail marker nails use painted blazes, carved posts, switchback routes, and stacked direction blocks to create an outdoors inspired fall manicure. Pine green, bark brown, cream, amber, and signal red produce strong contrast without painting trees, mountains, or full landscapes.
Paint an Amber Blaze Over Bark Brown
Cover the nail in bark brown and place one broad amber rectangle slightly above the center. Add a smaller cream block partly over its lower edge and one pine green notch near the side. Keep the marks flat and clean, as though painted onto wood. The simple blaze creates a strong focal point on short nails without tiny illustration.
Turn a Cream Route Through Pine Green
Use pine green as the base and draw one cream path that begins near the cuticle, turns twice, and stops before the opposite tip. Add a small signal red square at the final turn and a bark brown point near the start. The changing direction suggests a switchback trail while the open green areas keep the design balanced.
Stack Three Marker Blocks Near the Tip
Paint the nail warm beige and arrange three blocks near the tip in bark brown, amber, and signal red. Shift each one slightly toward the side so the stack appears attached to an unseen post. Add one narrow pine green support beneath the lowest block. The compact arrangement gives rounded nails a clear outdoor detail without repeating signs or words.
Let Fall Nail Art Designs Tell a More Original Seasonal Story
Fall nail art designs feel fresh when they explore overlooked autumn details instead of repeating the same leaves, pumpkins, plaid, and glitter. Maple seeds create papery movement, while mushroom gills bring fan shaped structure. Acorn caps add woodland texture, and corn husks introduce layered folds. Weathered copper roofs provide aged architectural color, while forest trail markers finish the collection with crisp direction. You can also explore related articles about fall nail colors, short manicure ideas, acrylic shapes, nail care, autumn outfits, jewelry styling, salon inspiration, hand care, and seasonal beauty.