
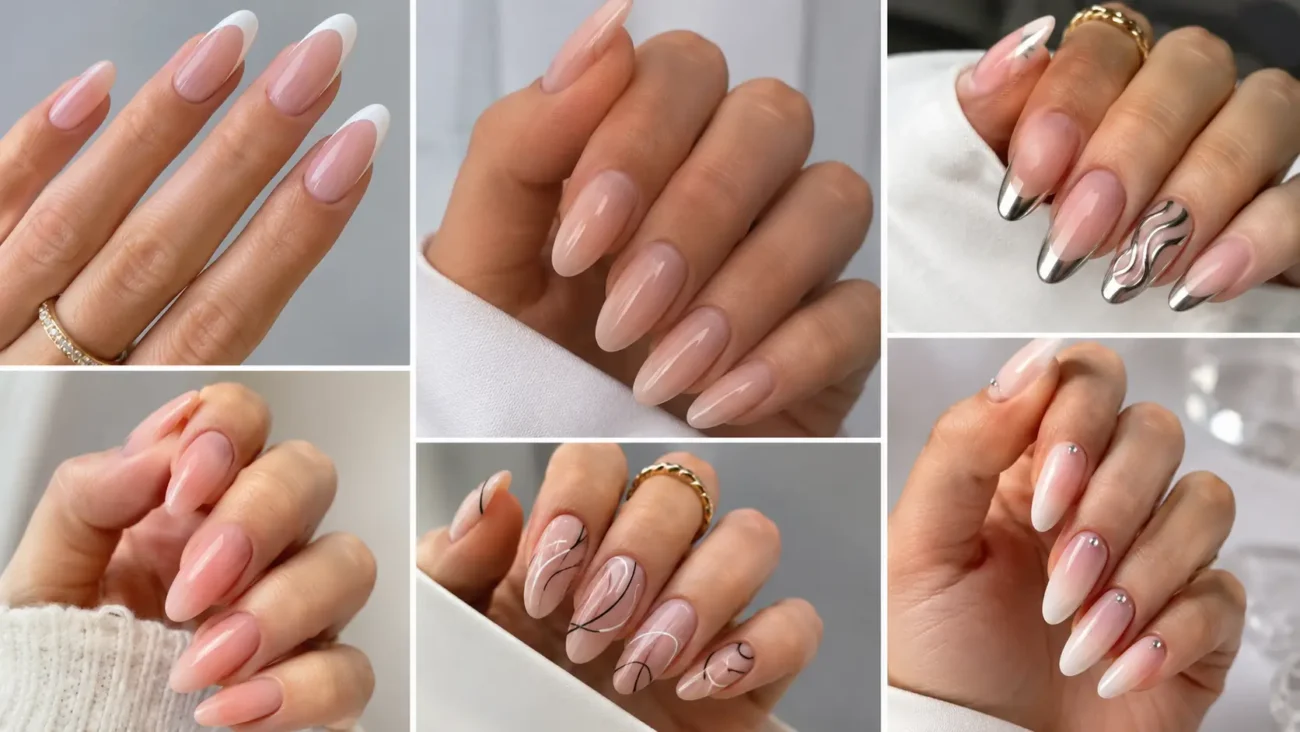
Nail extensions ideas become most exciting when length, shape, surface, and color are planned as one complete design. A set should suit hand movement, the detail you enjoy, and the maintenance that fits your routine. Current extension styling moves between sheer finishes and architectural shapes, giving minimal and expressive manicures room to stand out.
The ideas below explore almondetto proportions, sculpted squares, lipstick angles, controlled flare tips, faceted silhouettes, and short builder gel structures. Each direction offers three ways to personalize the final set without repeating familiar flowers, French tips, chrome frames, aura color, or earlier nail themes.
Almondetto Extensions With a Sleek Balanced Silhouette
Almondetto extensions combine the softness of almond nails with a straighter and more defined tip. The shape feels graceful without becoming sharply pointed, making it ideal for controlled length.
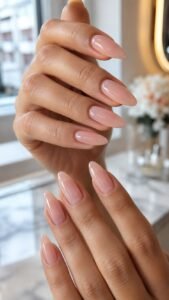
Medium and long versions work when the side walls remain even and the upper profile stays smooth.
Shape a Slim Center Line Through the Tip
Ask for the extension to narrow gradually from the middle toward a softly defined point. The side walls should look balanced from the front and remain smooth when viewed from the side.
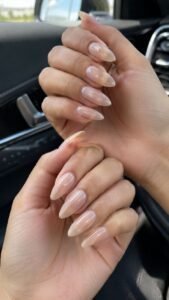
A faint vertical line in a slightly deeper shade can emphasize length without creating a busy striped design. Stop the line before the cuticle so the set keeps an airy appearance.
Add a Sheer Cashmere Wash
Choose a translucent cashmere tone that blends beige, muted mauve, and soft gray. Apply enough color to smooth the appearance while allowing a hint of the extension structure to remain visible.
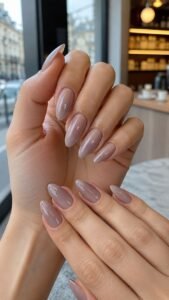
This quiet base works with gold, silver, dark brown, or clear accessories. High gloss looks polished, while satin creates a softer fashion focused finish.
Place Tiny Studs Along One Outer Edge
Add three or four very small metal studs along one side of selected nails rather than centering them. The offset placement creates movement and leaves most of the surface clean.
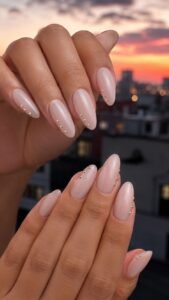
Repeat the placement across several fingers, then reverse it on one accent nail. Keep every stud low and smooth so the detail remains refined.
Sculpted Square Extensions With Crisp Modern Proportion
Sculpted square extensions use straighter free edges, clean corners, and balanced thickness. The polished version avoids an overly wide tip and stays neat from every angle.
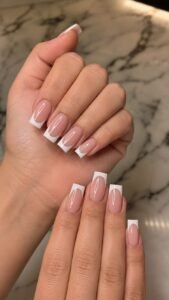
Short lengths feel practical, while longer squares provide room for graphic placement and subtle hardware.
Keep the Corners Sharp but Comfortable
Create a straight free edge, then soften only the smallest amount at each corner so the shape remains square without feeling harsh. The side walls should continue forward rather than spreading outward.
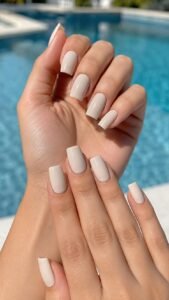
This careful proportion makes the extension look structured and deliberate. An opaque cream or muted mineral shade can highlight the geometry without requiring complex artwork.
Color the Underside for a Hidden Surprise
Apply a contrasting shade beneath the free edge while keeping the upper surface neutral or sheer. The color becomes visible when the hands move, hold a cup, or turn toward the light.
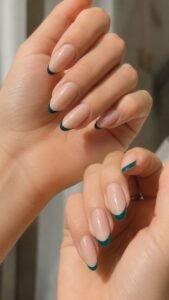
Deep teal beneath beige feels modern, while dark plum beneath cloudy gray feels richer. Keep the underside application precise from every angle.
Add a Narrow Rivet Line Near the Tip
Place a row of tiny round metallic marks just above the straight edge, leaving the rest of the nail open. Use only one or two accent fingers on each hand so the detail does not overpower the square shape.
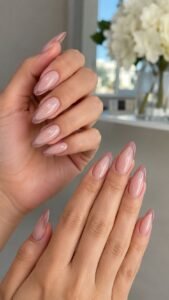
Silver over taupe feels cool and architectural, while muted bronze over cream appears warmer. A glossy seal helps the marks look integrated.
Lipstick Cut Extensions With Diagonal Fashion Drama
Lipstick cut extensions end in a distinct diagonal edge that resembles the top of a fresh lipstick. The angled tip creates instant movement even when the color remains simple.
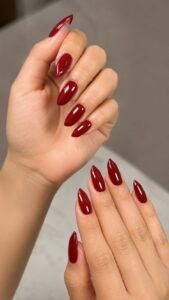
Medium length gives the slope enough room to appear intentional, while longer versions support stronger contrast. Repeat the angle consistently across both hands and keep the side profile slim.
Mirror the Angles Across Both Hands
File the diagonal edges so they lean toward the center when both hands are placed together. This mirrored direction creates a connected composition and makes the unusual shape easy to understand at a glance.
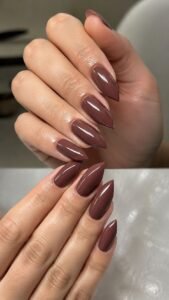
Keep the upper surface in one clean color so the angle remains the main feature. Muted berry brown, stone blue, or creamy neutral can make the silhouette wearable.
Leave a Clear Wedge Along the Slanted Edge
Create a transparent triangular section near the diagonal tip while the rest of the extension carries an opaque shade. The clear wedge should follow the slope precisely and remain narrow enough to preserve the structure.
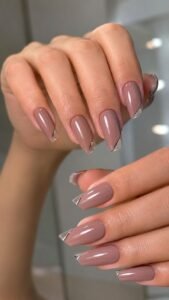
This detail lightens the edge and lets the shape stand out without extra decoration. Repeat it across every nail for coordination.
Divide Satin and Gloss Across the Surface
Use the diagonal cut as inspiration for a two finish design. Cover the lower portion in satin and keep the upper angled section glossy, using the same color across both areas.
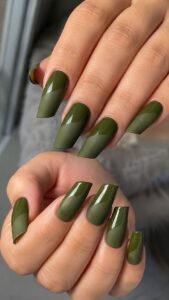
The difference becomes visible when light moves over the hands. Deep olive, smoky violet, or warm stone shades make the contrast clear while keeping the palette controlled.
Refined Flare Extensions With Controlled Retro Energy
Refined flare extensions widen slightly near the free edge while keeping the base and side walls neat. The shape brings playful retro energy without becoming excessively broad.
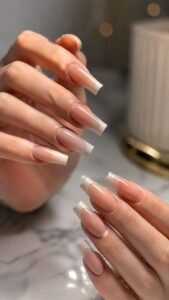
Medium length reveals the flare while remaining comfortable with everyday styling. Curved color placement and open space work especially well across the wider tip.
Keep the Flare Narrow and Symmetrical
Begin with straight side walls near the natural nail, then widen them gradually through the final portion of the extension. Both sides should open at the same angle so the shape looks deliberate.
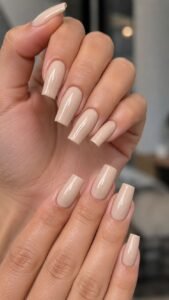
A rounded free edge feels smoother, while a straight edge creates a stronger graphic effect.
Create a Translucent Base With an Opaque Cap
Use a clear or softly tinted base, then place one solid color across the wider tip. Instead of forming a familiar French line, allow the opaque area to curve downward on one side and rise on the other.
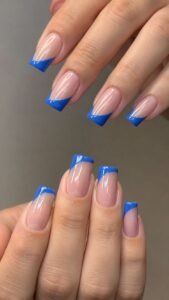
This asymmetrical cap emphasizes the flare and creates movement. Bright lacquer, deep neutral, or pastel cream can each produce a different mood.
Stretch a Beaded Arc Across the Width
Place a curved row of tiny bead like dots across one or two accent tips, following the widest part of the extension. Keep the dots equal in size and leave space between them so the surface remains clean.
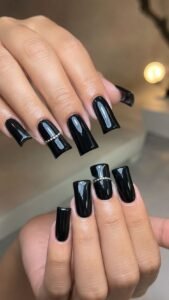
A dark base with pale dots feels graphic, while a neutral base with metallic dots looks polished. Avoid large raised pieces that compete with the shape.
Faceted Edge Extensions With Sculptural Planes
Faceted edge extensions use a raised central ridge and angled side planes to create a dimensional silhouette. The shape looks different from the front, side, and top, making the architecture part of the design.
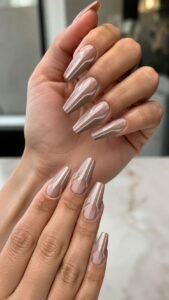
Medium or long length keeps the planes visible, while controlled color emphasizes the structure.
Define the Central Ridge With One Fine Shade
Run one narrow color line along the raised center of the extension, beginning above the cuticle and continuing toward the tip. Choose a shade slightly darker than the base so the ridge appears through contrast rather than glitter.
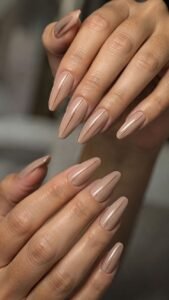
Keep the line straight and delicate so the structure remains clear and editorial.
Paint Each Side Plane in Related Tones
Use three closely related shades across the top and side planes, such as parchment, taupe, and cocoa gray. The changing color should follow the extension structure exactly so each plane appears intentional.
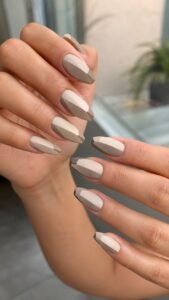
Keep the deepest tone on the narrowest side and the lightest shade on top. A satin finish can make the faceted effect softer and more architectural.
Add Gloss Only to the Upper Plane
Cover the entire extension in one color, then apply high gloss only along the upper central plane while leaving the sides satin. The difference in reflection highlights the ridge whenever the hands move.
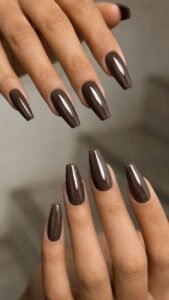
Dark green, muted aubergine, or cool brown can show the contrast clearly. Keep the boundaries precise so the finish supports the shape rather than appearing uneven.
Short Builder Gel Extensions With Polished Daily Ease
Short builder gel extensions add a little length while maintaining a compact shape. They suit anyone who prefers a clean manicure for typing, daily tasks, and simple styling.
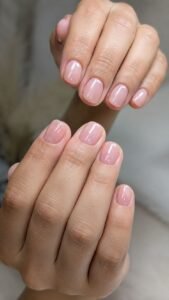
Balanced structure and restrained details keep the result polished.
Choose a Compact Soft Square Shape
Keep the extension only slightly beyond the fingertip and file the free edge straight with gently softened corners. The result feels structured without looking severe.
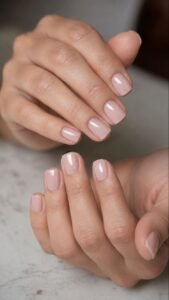
A carefully placed apex supports the profile, while sheer neutrals, muted pastels, or deeper polish complete the shape.
Use a Translucent Putty Tint
Choose a putty inspired tone that combines beige, gray, and a touch of muted pink. The translucent finish softens the extension while keeping its natural looking structure visible.
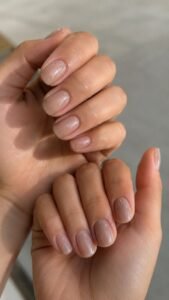
Apply the color evenly from cuticle to tip and finish with a clear glossy layer. This quiet shade pairs easily with casual outfits, workwear, and different metal jewelry.
Add One Micro Detail Near the Side Wall
Place a single tiny dot, narrow dash, or miniature metal mark near one side of each nail. Change its position slightly across the hand while keeping the scale consistent.
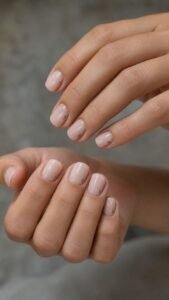
The detail should appear only at close range. Black, bronze, or deep green can add contrast without covering the base.
Choose Extensions That Feel Like Part of Your Personal Style
The best nail extensions ideas begin with shape and structure before color or decoration is added. Almondetto extensions offer balanced elegance, while sculpted squares create clean modern proportion. Lipstick cuts bring diagonal drama, refined flares introduce playful width, and faceted edges turn structure into sculpture. Short builder gel extensions provide a compact option for everyday routines without losing a polished finish. Save the shape that suits your hands and lifestyle, then choose one surface detail that strengthens its character. Related inspiration for nail shapes, manicure colors, nail art designs, short nails, extension care, and outfit styling can help you plan a complete look before your next appointment.